Tuesday, January 15, 2013

My Top 5 From 2012

I thought since it's January I would go back and look at my images from this past year. It is amazing to me how far I have come as a photographer in the past year. It took a lot of reading, reviewing, editing and of course shooting, I can't wait to put even more into my photography this year to see where I can get at the end of 2013. I have a lot of planned for 2013, it's going to be a great year for pictures.

Here are my top 5 shots from 2012.

Snake River Overlook


Moulton Barn

The Browns

Oceanside Pier

Joshua Tree Stars


Saturday, January 5, 2013

Oceanside Pier 2

ISO: 100  Focal Length: 11mm 
Aperture: f/22  Shutter Speed: 5 seconds

The Shot

Piers present a lot of opportunities for shooting. The texture of the sky and the pier along with all the strong lines made me immediately think of doing this shot in black and white. In order to make it seem like there weren't very many people on the pier I used a long shutter speed. When you do this you can make very crowded places seem almost empty. So to do this I put my polarizer on to cut down some light and then used the smallest aperture I could. I also decided not to make the image symmetric because I thought the clouds on the right side of the shot were too interesting to cut out.

Post Processing

When I got the image onto the computer all I really had to do was convert it to black and white with Nik Silver Efex Pro and then sharpen it.

Tuesday, January 1, 2013

Holbrook Canyon

ISO: 100  Focal Length: 13mm 
Aperture: f/13  Shutter Speed: 2.5 seconds
Exposure Compensation: +1.33

It was a very cold morning when I got up to shoot this. When I arrived at Holbrook Canyon it was snowing. Luckily, I had an umbrella in the car so I could avoid getting snow on the front of the lens. After walking down into the canyon I made my way to the creek and worked through a few compositions before I finally arrived at this one.

Composition


I composed the image this way mainly because of two things. The ice and cascade provide a definite focal point for the image and the way the creek meanders around the snowy outcropping creates great leading lines that create depth. Notice how the eye immediately goes to the cascade and then will generally follow the stream. The use of curves like this is an excellent way to make a stronger composition.

Post Processing

Once I got the image on the computer I took down the highlights some to bring some texture back into the snow. I sharpened the image and added some definition to make the ice pop out even more.


When shooting snow you will usually have to overexpose the image. If I did not use a +1.33 exposure compensation the snow would have shown up as a grey color.


Wednesday, December 26, 2012

Recommended Camera Bodies

These are my favorite camera bodies and are what I recommend when people ask for advice.

Best Beginner DSLR: Nikon D3200 $599

Nikon D3200

The Nikon D3200 has an amazing sensor in it for the price, just look at its sensor rating on dxomark.com. It also has many features that will help the beginner photographer learn to take better pictures. With 24 megapixels you will be able to make small crops to your images without losing detail.


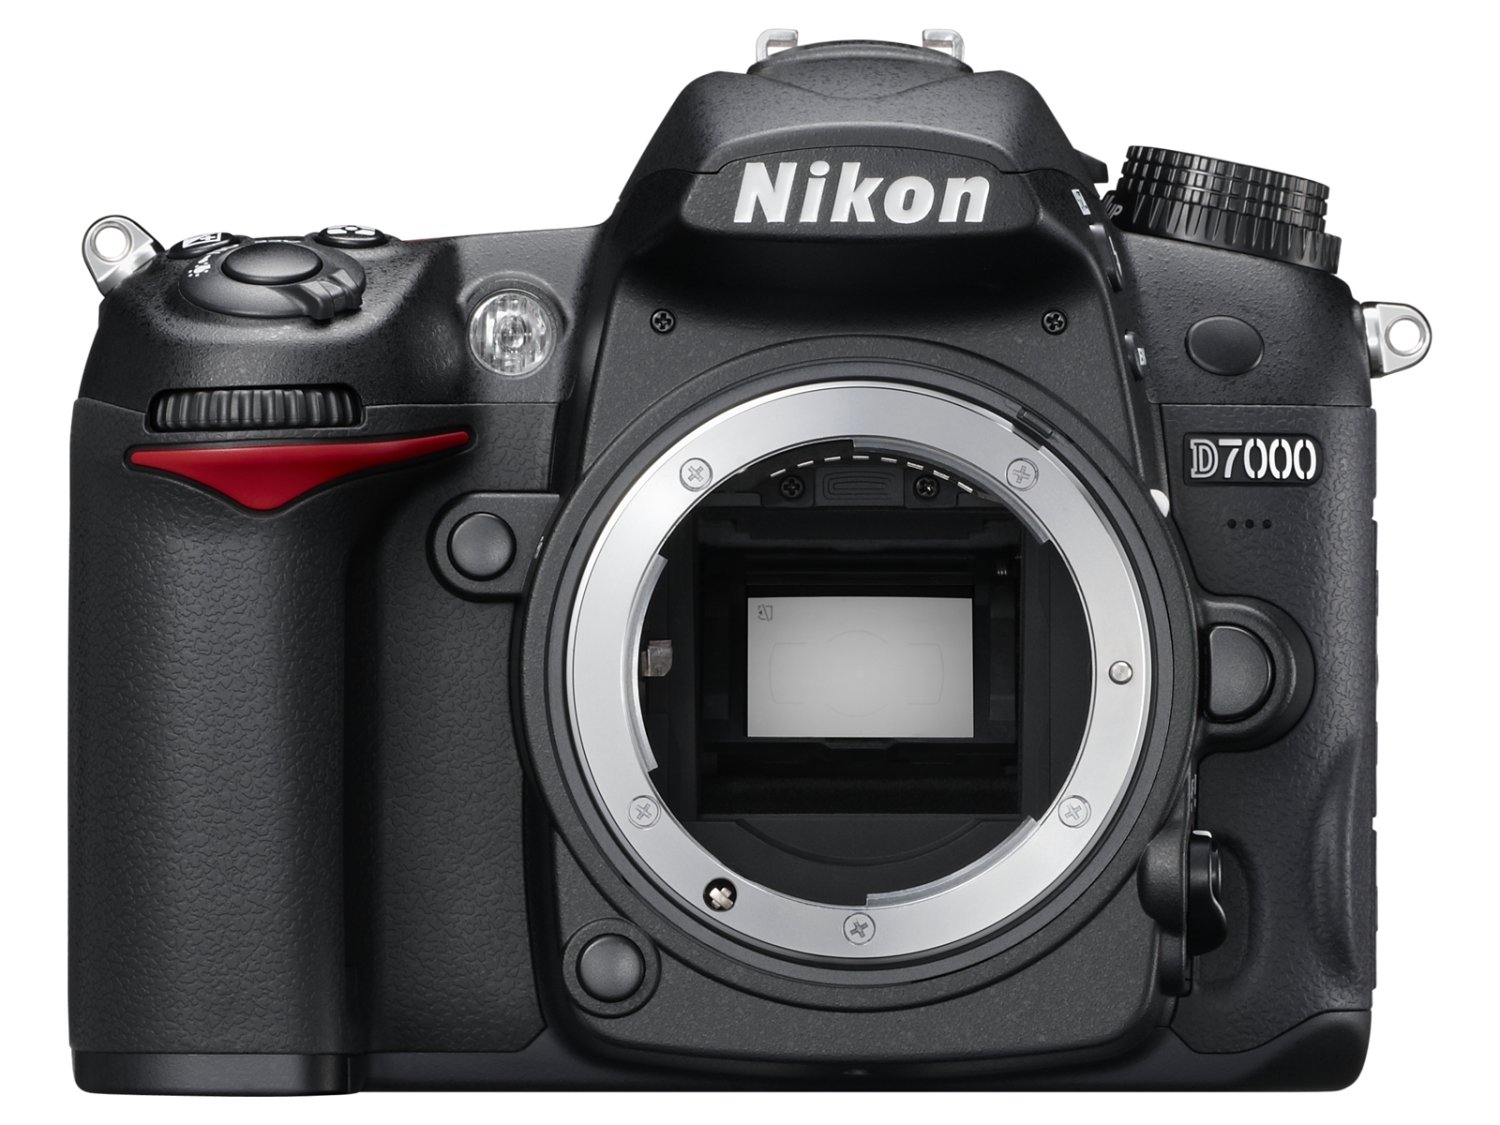
Best Prosumer Body: Nikon D7000 $896

Nikon D7000
Part of the reason I love this camera is because of the great deals you can find on it. Click on the link above to see current pricing on Amazon. This camera has been around for two years but it is still fantastic. The D7000 is an ideal camera for someone that is looking to upgrade from their first DSLR. It offers more advanced features like more autofocus points, higher continuous shooting rates, weather sealing and a magnesium body. Another great thing about going to a prosumer/semiprofessional level body is that almost all of your settings have a button, instead of having to go through all kinds of menus to change settings.


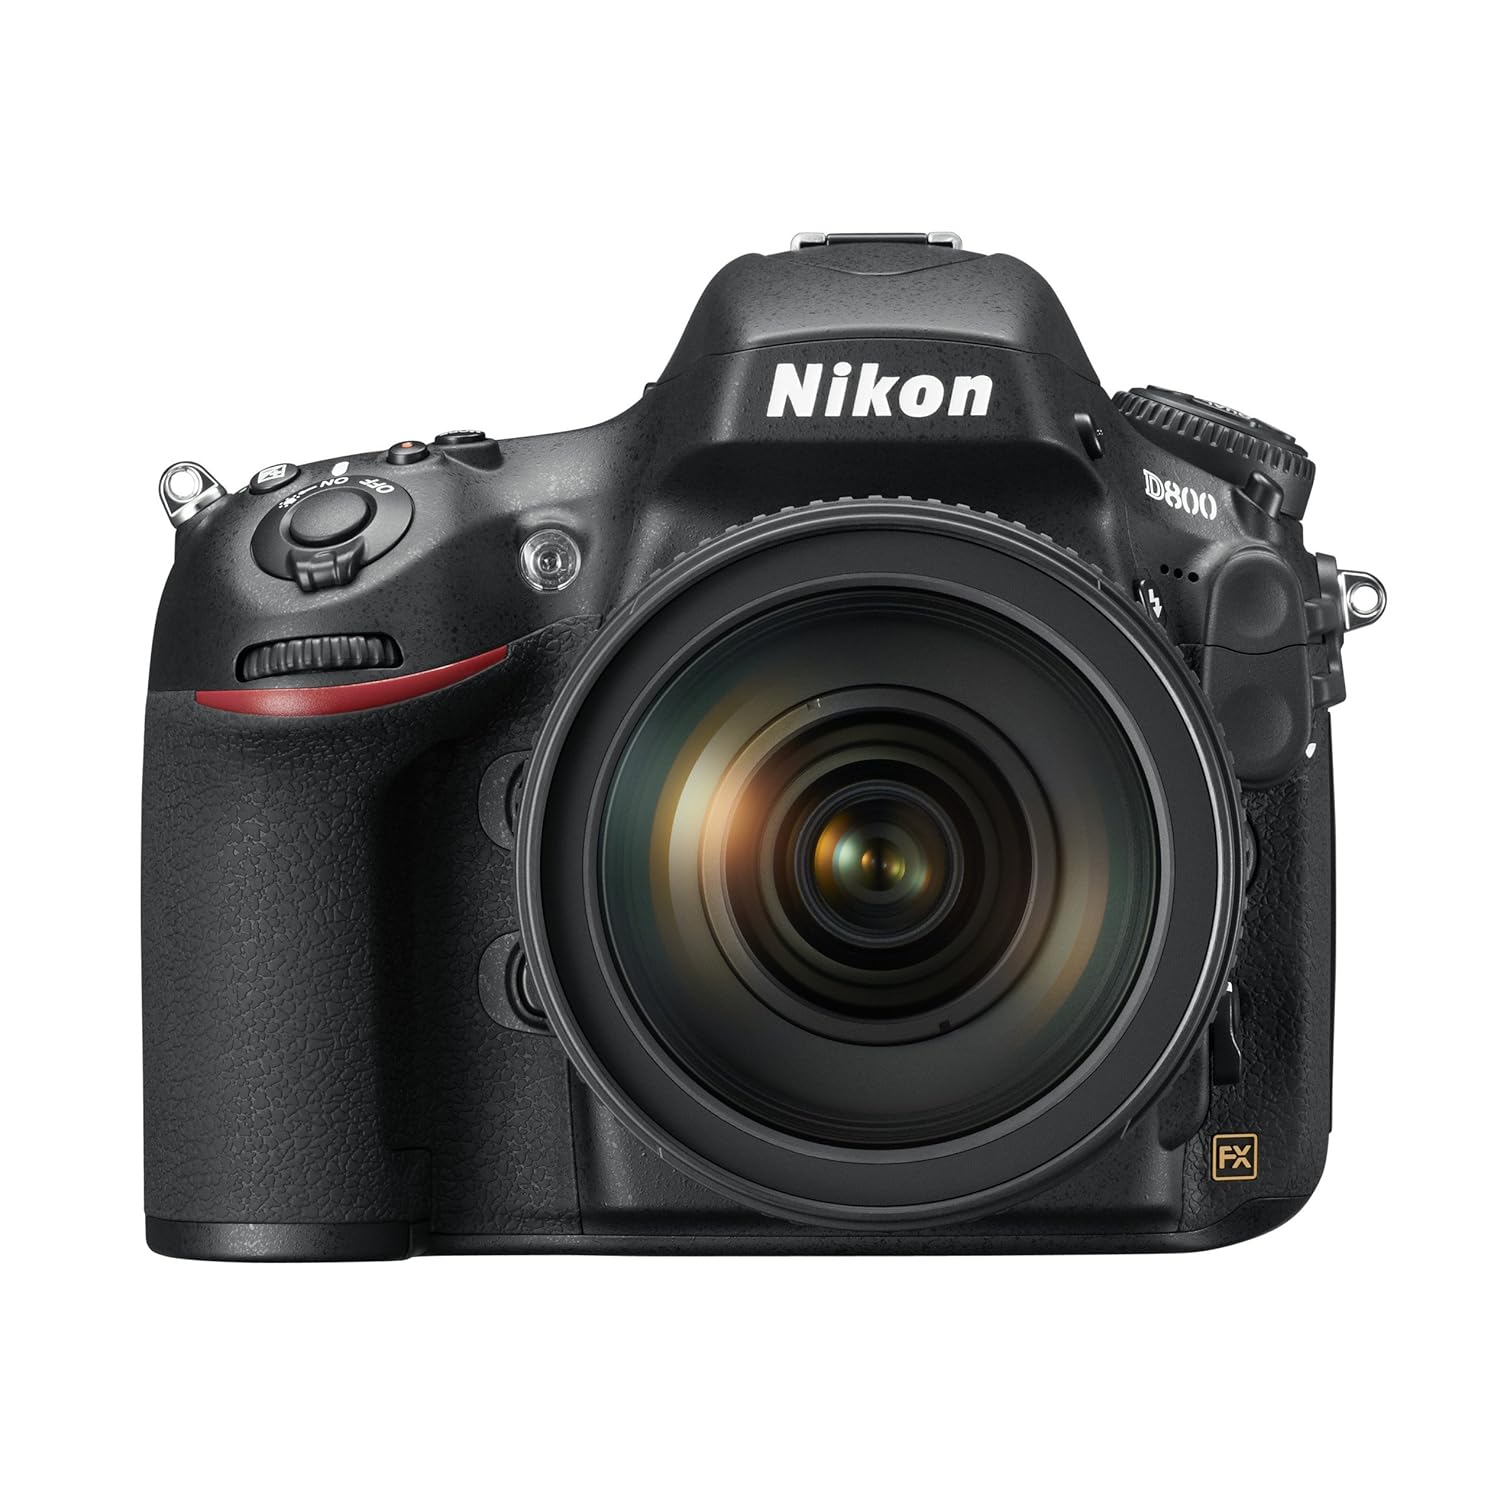
Best Portrait and Landscape Body: Nikon D800 $2796

Nikon D800
The D800 has a whopping 36 megapixels which makes it great for getting great detail out of portraits and landscapes. It also has a full frame image sensor that makes it much better for low light images. Landscape photographers will love the dynamic range of the camera. The downside of the D800 is that it does not have a super fast continuous shooting rate, only 4 fps.


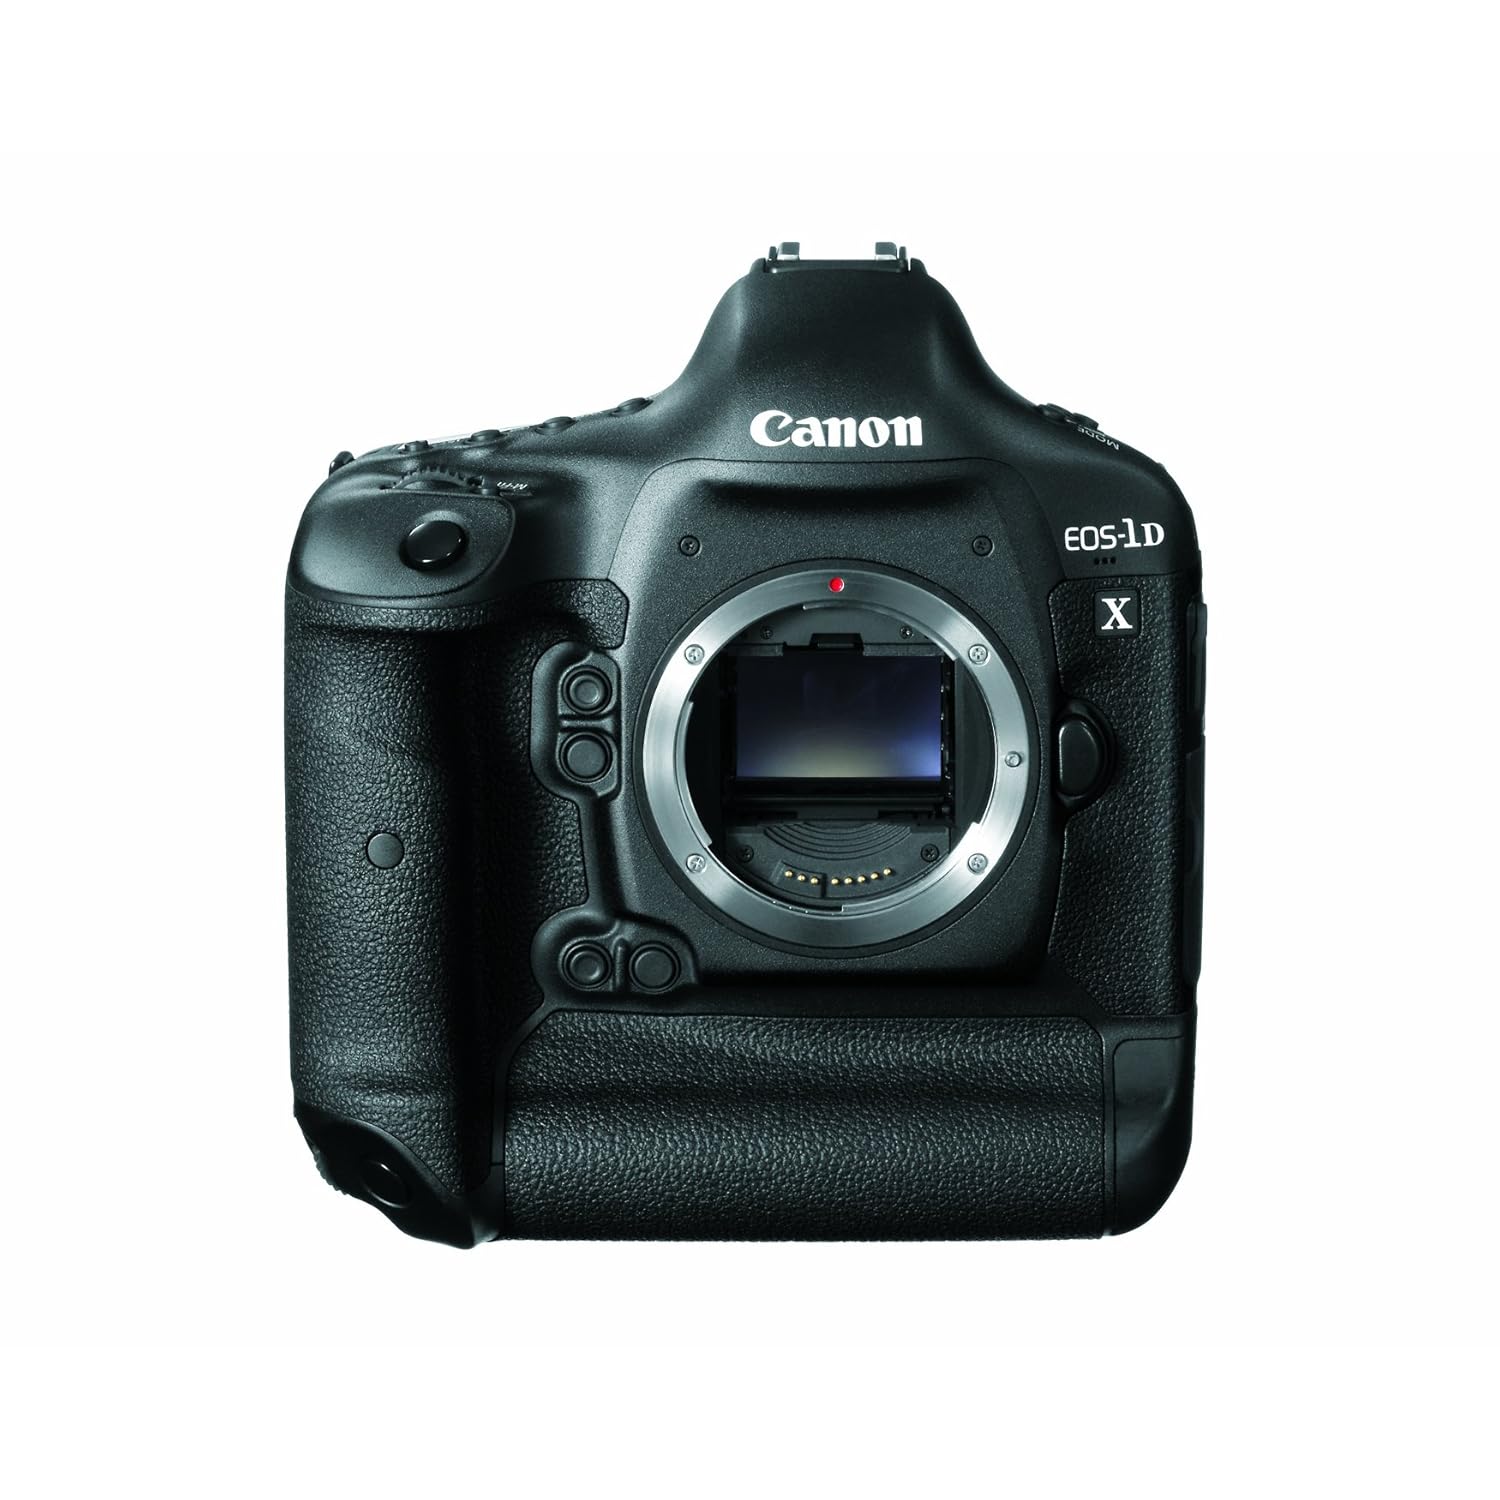
Best Sports and Action Body: Canon 1DX $6799

Canon 1DX

The Canon 1DX will shoot an astounding 12 frames per second. It also has one of the most sophisticated auto focus systems on the market, that make it great for tracking fast moving subjects. The 1DX is also great in low light. Keep in mind the 1DX does not have a built in flash, but if you are using a professional body like that you will want an external flash anyway.


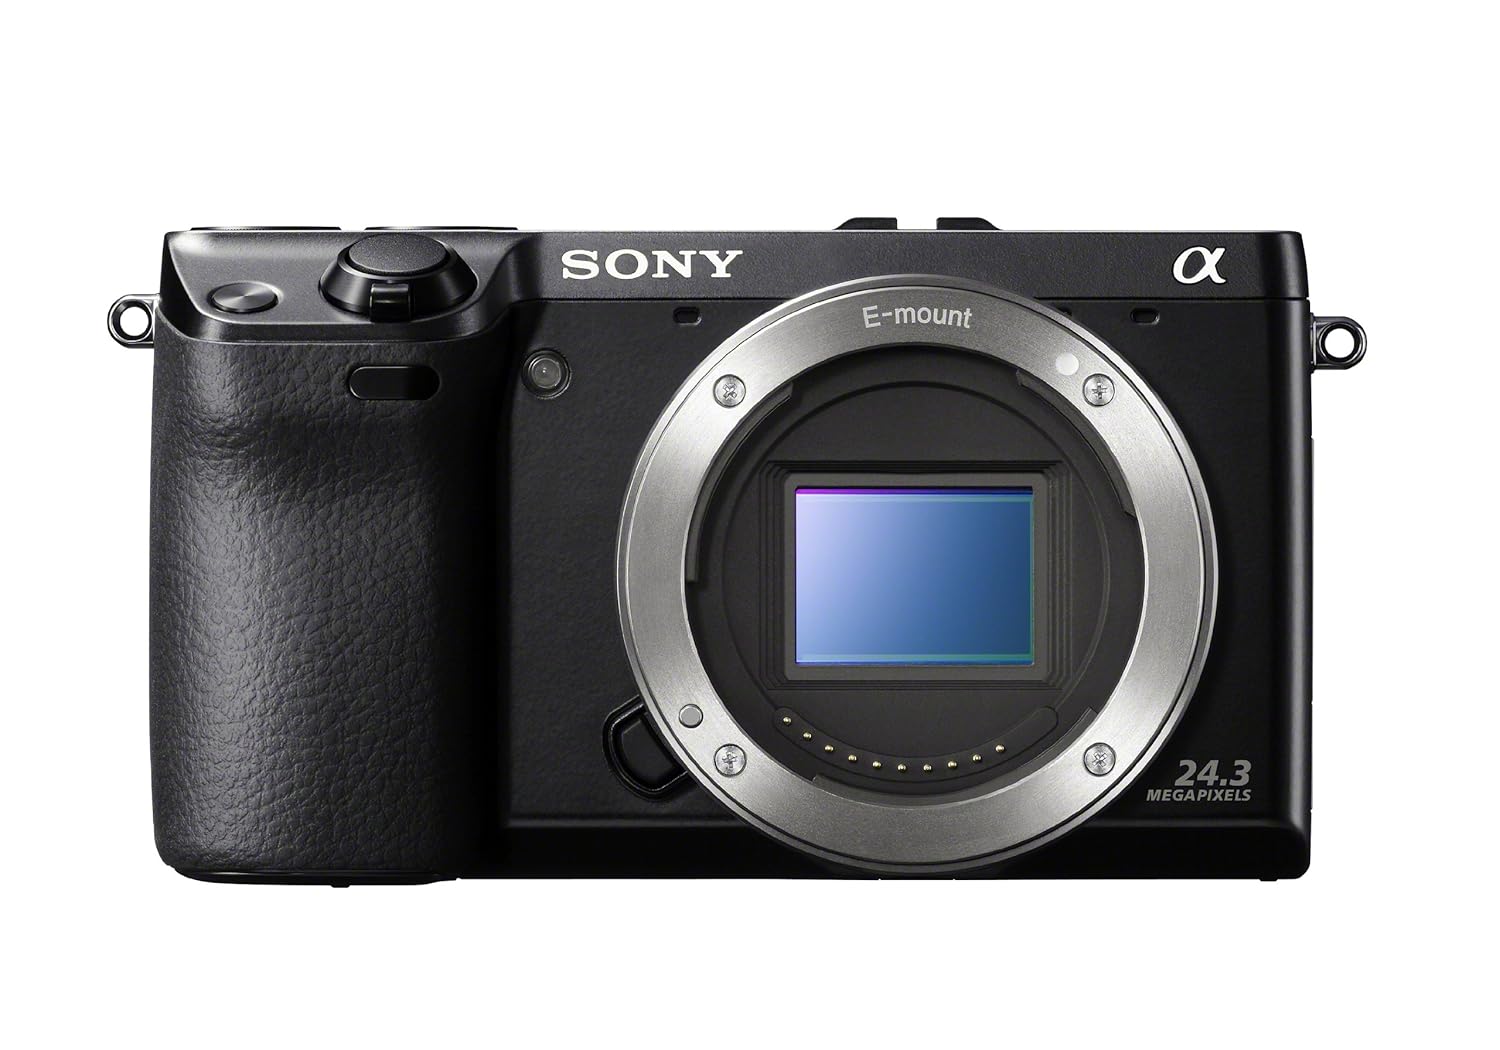
Best Travel Camera: Sony NEX 7 $1098

Sony NEX 7

The Sony NEX series of camera is great for those that want great picture quality without the bulk of a full size DLSR. This makes it great for taking on vacation. It has the same size sensor as the D3200 and also has 24 megapixels. The downside is that it does not have very many external buttons and lacks an optical viewfinder (they had to shrink it down somehow).


I will continue to update this page as new camera models become available that would change my recommendations.

Sunday, December 23, 2012

Beyond Exif Recommended Gear

Over the next few days I will be writing about gear I recommend. There will be posts about camera bodies, lenses, bags, filters and other accessories. I do a lot of research into camera products so be sure to check here for the gear I recommend.

Saturday, December 22, 2012

Oceanside Pier

ISO: 100  Focal Length: 13mm 
Aperture: f/22  Shutter Speed: 1 second
Filter: Lee 0.9 GND Soft Edge

The Shot

It was a beautiful night at the Oceanside Pier. There are so many good shots to be had around a pier. For this shot I wanted the reflection of the pier to be my foreground element so I had to wait for the moment when the waves were out. I moved about 100ft to the side of the pier until I liked the diagonal it was making in the frame. One of the things I like most about the composition is all the leading lines. The pier, clouds and colors of the sunset make great leading lines to the end of the pier where the sun adds more visual weight to the end of the pier. 

One of the real keys for this shot was the Lee graduated neutral density filter. By placing the filter transition correctly you can balance the light between the sky and the foreground. It made it so I could retain great details in the bright sky as well as the foreground.

Post Processing

In order to make the image more like the scene I remembered at the pier I boosted the saturation up to 1.8, adjusted the black point to 37, and then reduced the luminance of the blue channel slightly. The final step was to add edge sharpening and I decided to add a vignette. 

Friday, December 21, 2012

Lessons Learned: Get There Early

While in Joshua Tree I missed two important opportunities for shooting. The first was at sunset and I wanted to shoot the Cholla Cactus Garden with the sun just starting to dip below the horizon. I wanted to have a sun star that would backlight the cactus. Well I thought I was leaving plenty of time to get there. I planned on getting there about a half hour before sunset. The problem was that the cactus garden has a decently sized mountain right behind it. So when I got there the sun was just dipping below the horizon. I jumped out of the car grabbed my camera bag and tripod and took off running. As I ran I was getting my tripod legs extended. I ran for the the closest group of cacti and got my camera on the tripod. Just as I turned the camera to compose the shot the sun went completely down. I missed the shot I wanted.

The second shot I missed was at sunrise. I planned on getting up early enough that I would be in place about a half hour before sunrise. The place I planned on shooting was only a 5-10 minute walk from our campsite so I figured I would have plenty of time. Unfortunately when I opened the tent door I realized I should've already been in place. The sky was a brilliant orange with gorgeous clouds. I frantically put on my shoes, grabbed my gear and ran to where I planned on shooting. As I ran, the colors began to fade and by the time a found a somewhat decent composition they were all but gone. It only took a few minutes for it to change.

Please learn from my mistakes. Get to your shots early. For sunrise shots plan on getting there while it is still pretty dark. When possible scout your locations ahead of time so you can be prepared. I find that when I have to rush to get in place the time for the perfect shot has already passed.